9.7 KiB
Using SQL Server for Windows
Microsoft offers various editions of its popular and capable SQL Server product for Windows, Linux, and Docker containers. We will use a free version that can run standalone, known as SQL Server Developer Edition. You can also use the Express edition or the free SQL Server LocalDB edition that can be installed with Visual Studio for Windows.
Downloading and installing SQL Server
You can download SQL Server editions from the following link: https://www.microsoft.com/en-us/sql-server/sql-server-downloads
- Download the Developer edition.
- Run the installer.
- Select the Custom installation type.
- Select a folder for the installation files and then click Install.
- Wait for the 1.5 GB of installer files to download.
- In SQL Server Installation Center, click Installation, and then click New SQL Server stand-alone installation or add features to an existing installation, as shown in Figure 10.1:
 Figure 10.1: Installation using SQL Server Installation Center
- Select Developer as the free edition and then click Next.
- Accept the license terms and then click Next.
- Review the install rules, fix any issues, and then click Next.
- In Feature Selection, select Database Engine Services, and then click Next.
- In Instance Configuration, select Default instance, and then click Next. If you already have a default instance configured, then you could create a named instance, perhaps called csdotnetbook.
- In Server Configuration, note the SQL Server Database Engine is configured to start automatically. Set the SQL Server Browser to start automatically, and then click Next.
- In Database Engine Configuration, on the Server Configuration tab, set Authentication Mode to Mixed, set the sa account password to a strong password, click Add Current User, and then click Next.
- In Ready to Install, review the actions that will be taken, and then click Install.
- In Complete, note the successful actions taken, and then click Close.
- In SQL Server Installation Center, in Installation, click Install SQL Server Management Tools.
- In the browser window, click to download the latest version of SSMS.
- Run the installer and click Install.
- When the installer has finished, click Restart if needed or Close.
Creating the Northwind sample database for SQL Server
Now we can run a database script to create the Northwind sample database:
- If you have not previously downloaded or cloned the GitHub repository for this book, then do so now using the following link: https://github.com/markjprice/cs11dotnet7/.
- Copy the script to create the Northwind database for SQL Server from the following path in your local Git repository:
/sql-scripts/Northwind4SQLServer.sqlinto theWorkingWithEFCorefolder. - Start SQL Server Management Studio.
- In the Connect to Server dialog, for Server name, enter
.(a dot) meaning the local computer name, and then click Connect. If you had to create a named instance, likecsdotnetbook, then enter.\csdotnetbook - Navigate to File | Open | File....
- Browse to select the
Northwind4SQLServer.sqlfile and then click Open. - In the toolbar, click Execute, and note the the Command(s) completed successfully message.
- In Object Explorer, expand the Northwind database, and then expand Tables.
- Right-click Products, click Select Top 1000 Rows, and note the returned results, as shown in Figure 10.2:
 Figure 10.2: The Products table in SQL Server Management Studio
- In the Object Explorer toolbar, click the Disconnect button.
- Exit SQL Server Management Studio.
Managing the Northwind sample database with Server Explorer
We did not have to use SQL Server Management Studio to execute the database script. We can also use tools in Visual Studio including the SQL Server Object Explorer and Server Explorer:
- In Visual Studio 2022, choose View | Server Explorer.
- In the Server Explorer window, right-click Data Connections and choose Add Connection....
- If you see the Choose Data Source dialog, as shown in Figure 10.3, then select Microsoft SQL Server and then click Continue:
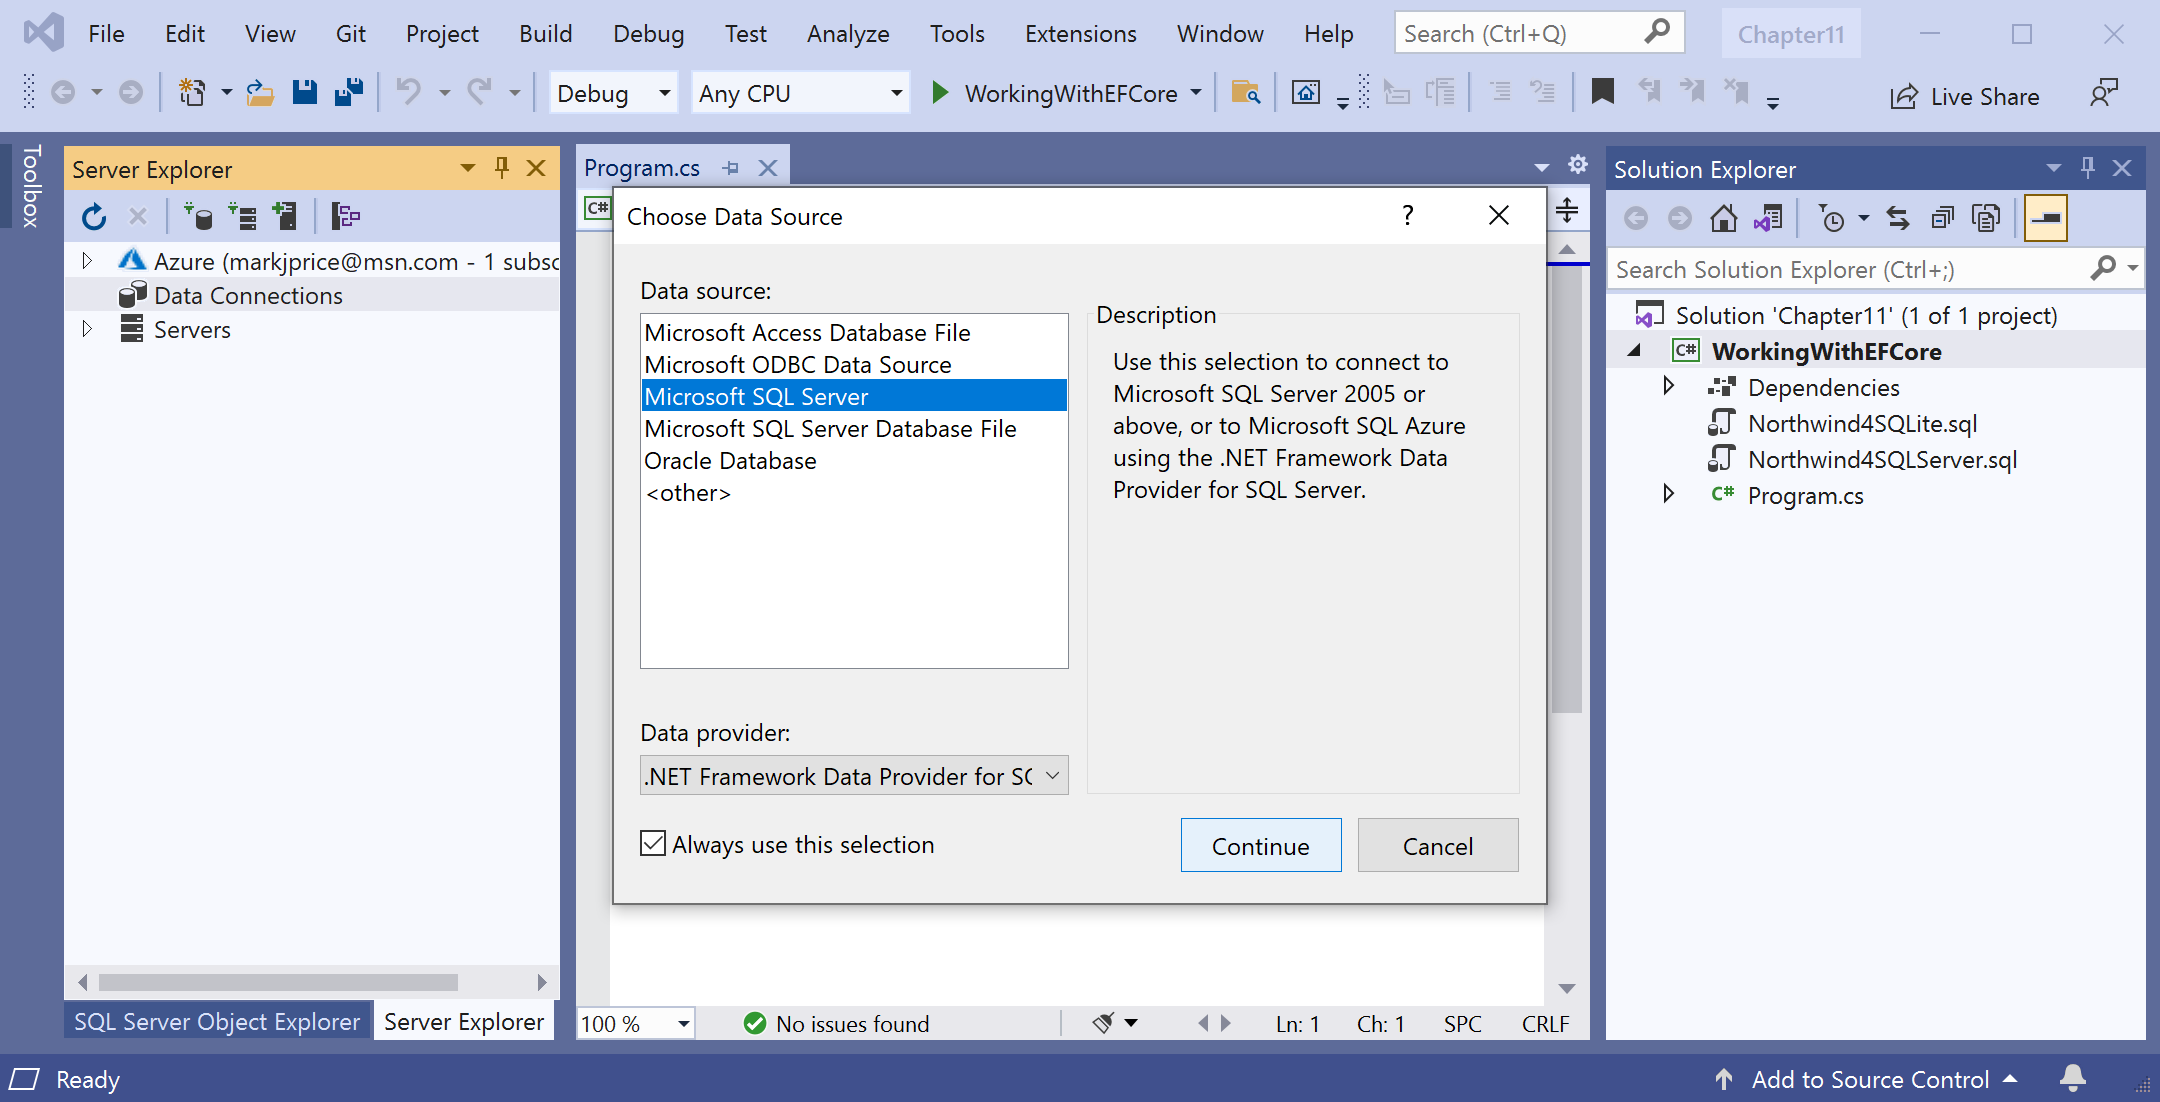 Figure 10.3: Choosing SQL Server as the data source
- In the Add Connection dialog, enter the server name as
., enter the database name asNorthwind, and then click OK. - In Server Explorer, expand the data connection and its tables. You should see 13 tables, including the Categories and Products tables, as shown in Figure 10.4:
 Figure 10.4: 13 tables in Northwind database
- Right-click the Products table, choose Show Table Data, and note the 77 rows of products are returned.
- To see the details of the Products table columns and types, right-click Products and choose Open Table Definition, or double-click the table in Server Explorer.
Connecting to a database
To connect to an SQL Server database, we need to know multiple pieces of information, as shown in the following list:
- The name of the server (and the instance if it has one).
- The name of the database.
- Security information, such as username and password, or if we should pass the currently logged-on user's credentials automatically.
We specify this information in a connection string.
For backward compatibility, there are multiple possible keywords we can use in an SQL Server connection string for the various parameters, as shown in the following list:
Data Sourceorserveroraddr: These keywords are the name of the server (and an optional instance). You can use a dot.to mean the local server.Initial Catalogordatabase: These keywords are the name of the database.Integrated Securityortrusted_connection: These keywords are set totrueorSSPIto pass the thread's current Windows user credentials.MultipleActiveResultSets: This keyword is set totrueto enable a single connection to be used to work with multiple tables simultaneously to improve efficiency. It is used for lazy loading rows from related tables.
As described in the list above, when you write code to connect to an SQL Server database, you need to know its server name. The server name depends on the edition and version of SQL Server that you will connect to, as shown in the following table:
| SQL Server edition | Server name \ Instance name |
|---|---|
| LocalDB 2012 | (localdb)\v11.0 |
| LocalDB 2016 or later | (localdb)\mssqllocaldb |
| Express | .\sqlexpress |
| Full/Developer (default instance) | . |
| Full/Developer (named instance) | .\csdotnetbook |
Good Practice: Use a dot
.as shorthand for the local computer name. Remember that server names for SQL Server are made of two parts: the name of the computer and the name of an SQL Server instance. You provide instance names during custom installation.
Defining the Northwind database context class
- In the
WorkingWithEFCoreproject, add a package reference to the EF Core data provider for SQL Server and globally and statically import theSystem.Consoleclass for all C# files, as shown in the following markup:
<ItemGroup>
	<Using Include="System.Console" Static="true" />
</ItemGroup>

<ItemGroup>
  <PackageReference
    Include="Microsoft.EntityFrameworkCore.SqlServer"
    Version="7.0.0" />
</ItemGroup>
- Build the
WorkingWithEFCoreproject to restore packages. - Add a new class file named
Northwind.cs. - In
Northwind.cs, define a class namedNorthwind, import the main namespace for EF Core, make the class inherit fromDbContext, and in anOnConfiguringmethod, configure the options builder to use SQL Server, as shown in the following code:
using Microsoft.EntityFrameworkCore; // DbContext, DbContextOptionsBuilder

namespace Packt.Shared;

// this manages the connection to the database
public class Northwind : DbContext
{
  protected override void OnConfiguring(
    DbContextOptionsBuilder optionsBuilder)
  {
    string connection = "Data Source=.;" +
        "Initial Catalog=Northwind;" +
        "Integrated Security=true;" +
        "MultipleActiveResultSets=true;";

    ConsoleColor previousColor = ForegroundColor;
    ForegroundColor = ConsoleColor.DarkYellow;
    WriteLine($"Connection: {connection}");
    ForegroundColor = previousColor;

    optionsBuilder.UseSqlServer(connection);
  }
}
- In
Program.cs, delete the existing statements and then import thePackt.Sharednamespace and output the database provider, as shown in the following code:
using Packt.Shared;

Northwind db = new();
WriteLine($"Provider: {db.Database.ProviderName}");
- Run the console app and note the output showing the database connection string and which database provider you are using, as shown in the following output:
Connection string: Data Source=.;Initial Catalog=Northwind;Integrated Security=true;MultipleActiveResultSets=true;
Provider: Microsoft.EntityFrameworkCore.SqlServer
Scaffolding models using an existing database
For SQL Server, change the database provider and connection string, as shown in the following command:
dotnet ef dbcontext scaffold "Data Source=.;Initial Catalog=Northwind;Integrated Security=true;" Microsoft.EntityFrameworkCore.SqlServer --table Categories --table Products --output-dir AutoGenModels --namespace WorkingWithEFCore.AutoGen --data-annotations --context Northwind